
We completed a computer repair for Juan C in Weston, Florida.
The service provided was professional with clear communication at every part of my PC repair. – Juan C.
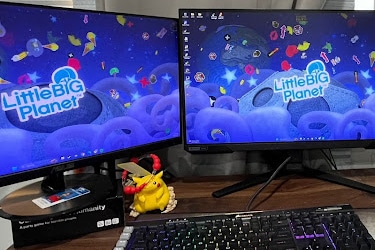
The service provided was professional with clear communication at every part of my PC repair. I was properly updated every step of the way and he pointed in the right direction to keep my PC up to date. I am very satisfied with the service I will be recommending his service to anyone who needs any PC repair or PC building services. – Juan C.

Project Type: Computer Repairs Weston, Florida…
Contact us (305-833-5228) for a Free Consultation!
—
About ifix Computer Repair & Gaming PCs
Computer & Laptop Repair
Is your computer running slowly or experiencing frustrating technical issues? Our expert technicians provide fast, reliable repairs for all computer and laptop models, getting you back to work or play with minimal downtime and a satisfaction guarantee. We diagnose problems accurately the first time, saving you money and preventing future headaches with our comprehensive repair services.
> Learn More
Custom Built Gaming PCs
Experience gaming without limits with our custom-built PCs tailored to your specific performance needs and aesthetic preferences. Our expert technicians hand-select premium components that work in perfect harmony, ensuring maximum frame rates, stunning graphics, and reliability that pre-built systems simply can’t match. Invest in a personalized gaming machine that evolves with your needs.
> Learn More